Integration of numerous spectral bands of Landsat satellite images into one multispectral image is referred to as layer stacking. Remote sensing applications like vegetation analysis, change detection, and land cover classification rely on the multispectral image.
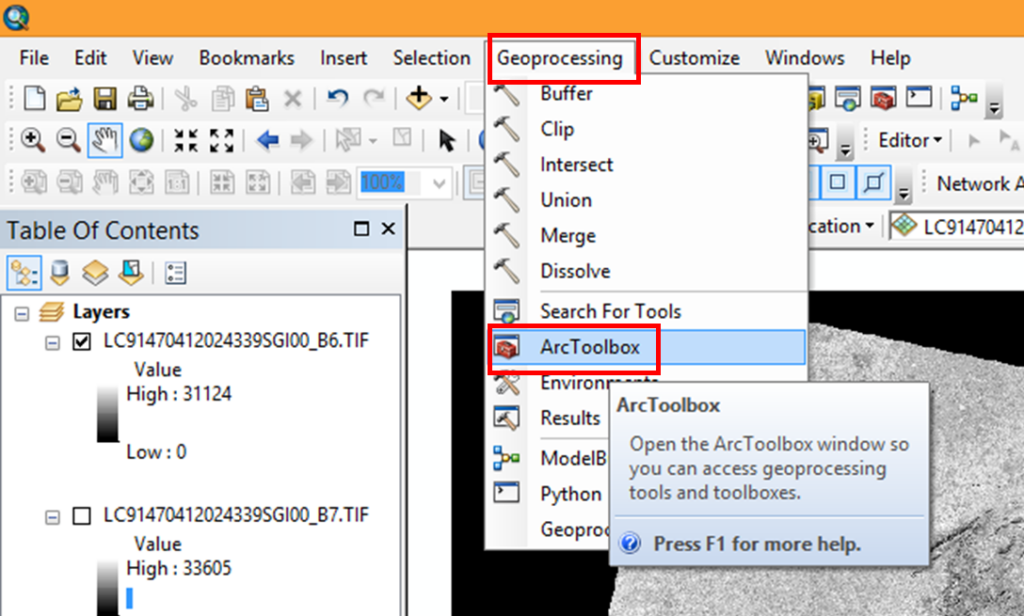
Click on the Geoprocessing tab in the ArcGIS menu bar. Here, select Arc Tool Box.
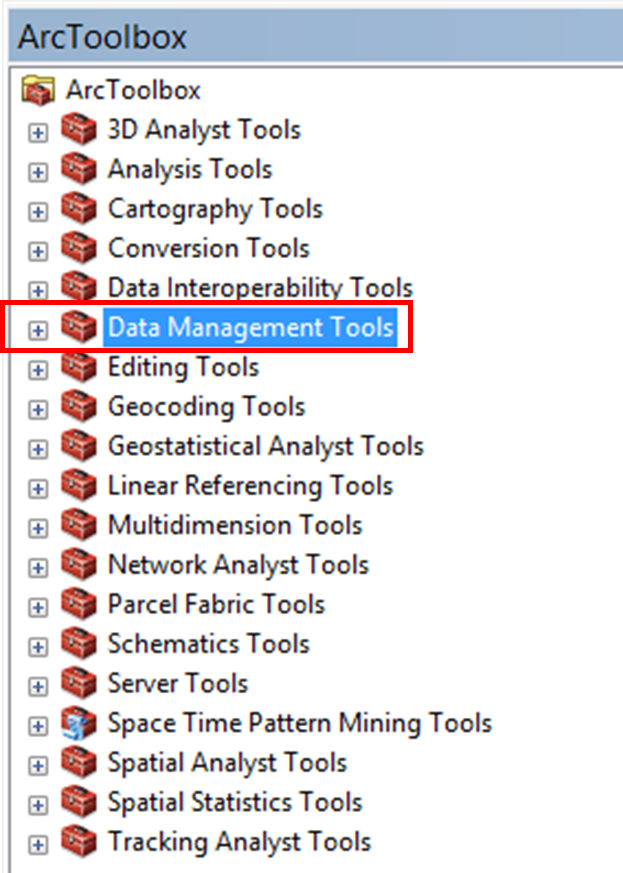
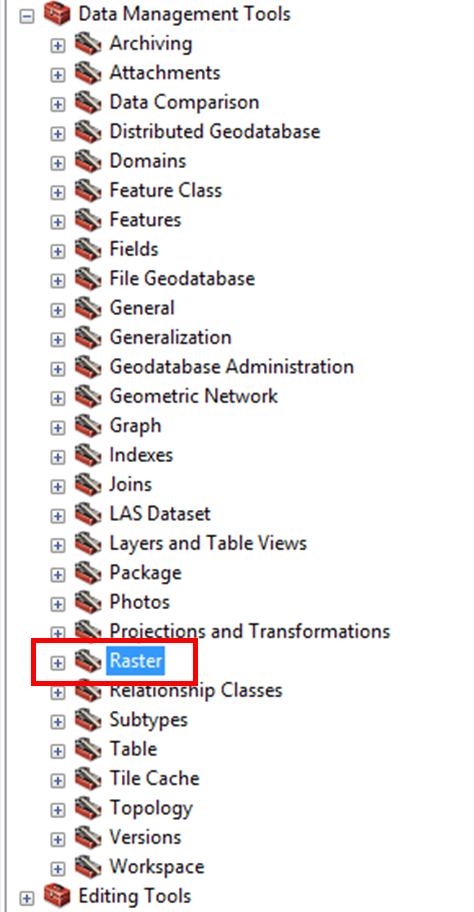
Now open the Arc Tool Box window. Here you have an option, i.e. Data management tools; just double-click on it. It will expand the list of tools available. Here you will find the tool called Raster; double-click this tool.
Then under Raster, you will find the tool Raster Processing. Double-click on that tool also. Here you will find the option called Composite Band, which will merge all the layers into a single band.
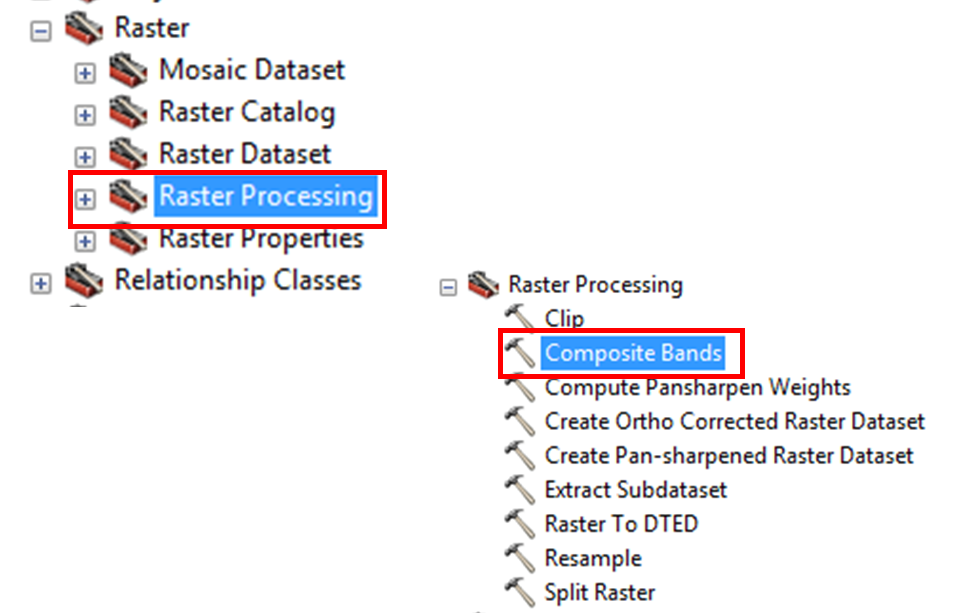
- Click on Composite Band; it will open the Composite Band dialog box .
- In the Composite Band dialog, select the bands in the Input Rasters for layer stacking.
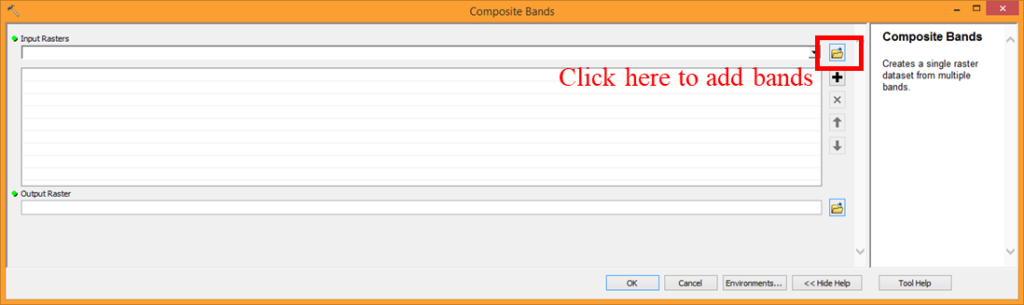
The input rasters dialog box will pop up
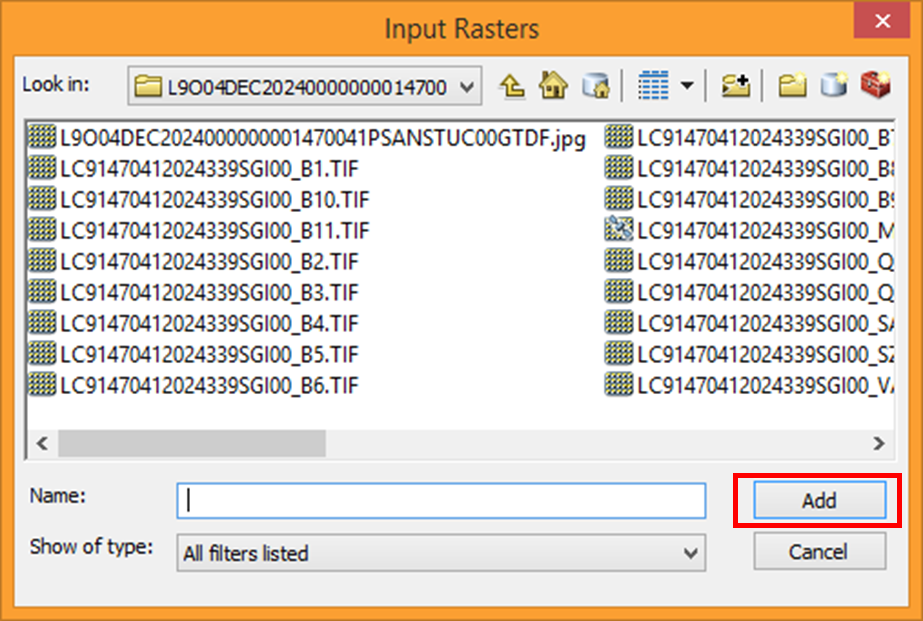
- Be sure the “Files of Type” is set to the same input type as your data source. TIFF is normally used in Raster images. The output image will contain the bands in the order that they have been input, so first add band 2, second will be band 3, and so on. Then click the Add button.
- Now click OK. The process will run. Your layers are now stacked in one image.
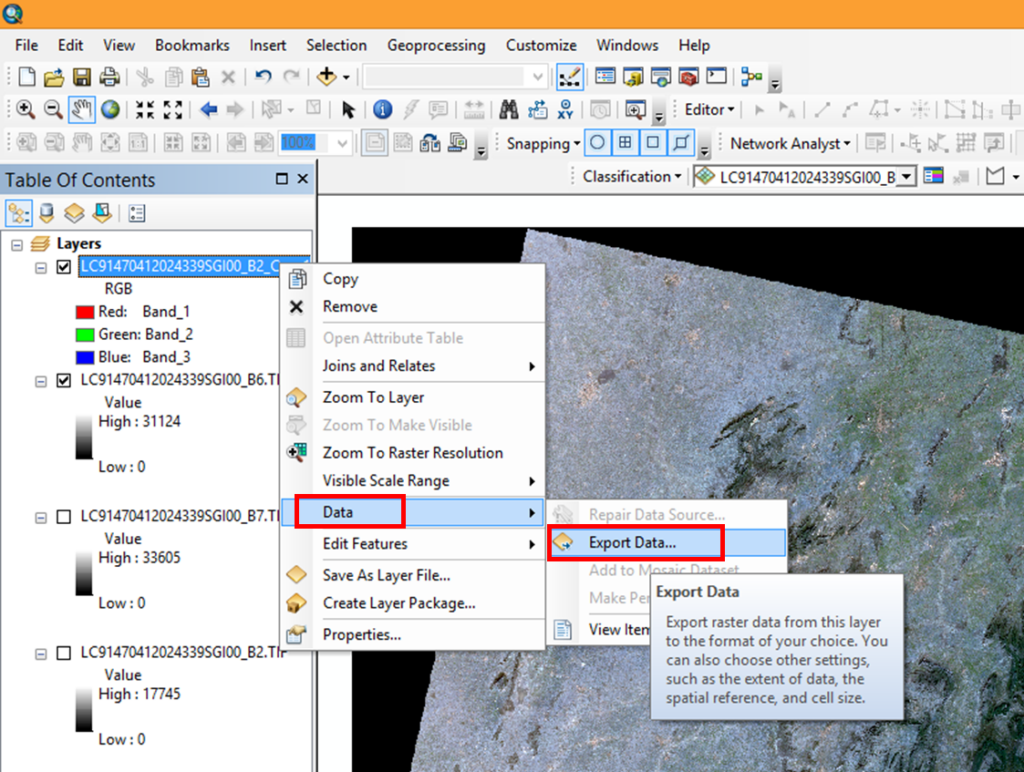
- Your stacked image will display on the screen; now save this image by clicking on the Export Data option. To save the image, right-click on the composite image, then select the Data option followed by the Export Data option.
Here the Export Raster Data window will pop up. Now navigate to the folder location in the Location tab to save the image and define the image file Name and file Format then click Save.

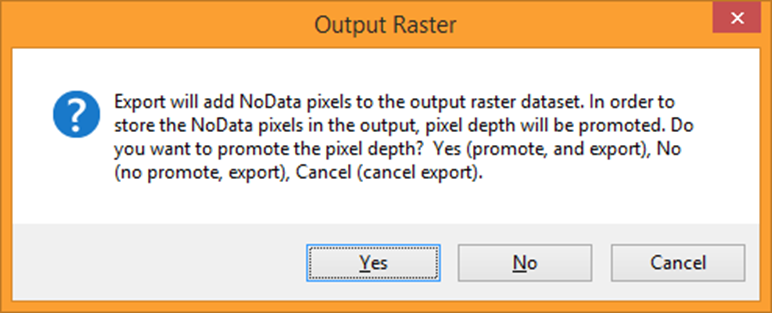
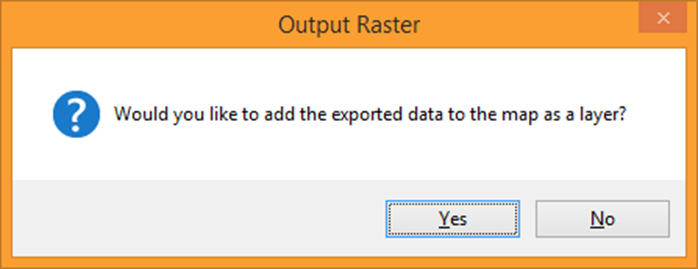
Output Raster window will open here just click Yes.
Then another Output Raster window will pop up asking to add the exported data as a map layer, so here again click Yes.
The composite image that you saved will be displayed on the ArcGIS screen.